Whatever your ballfield needs, think Beacon.
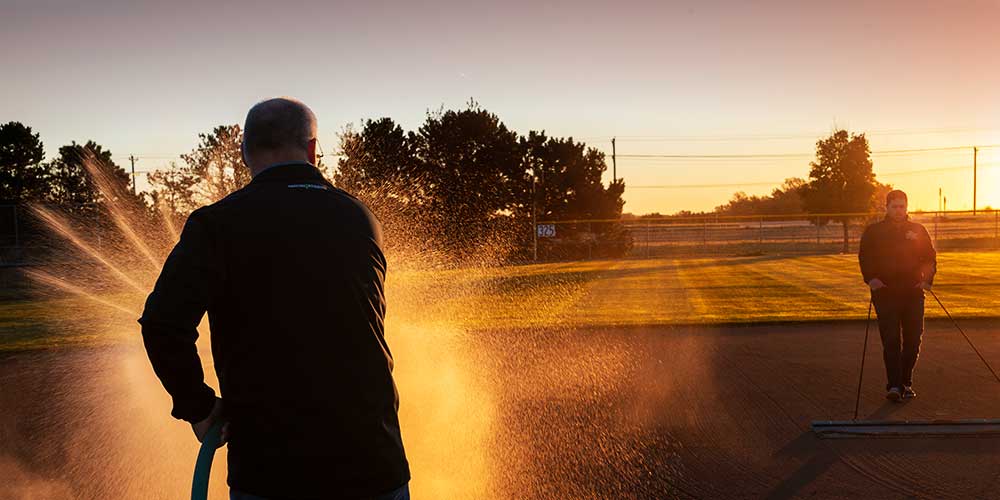
We’ve been in your shoes, we know what it takes. With a groundskeeper’s blog, online ballfield dimensions, how-tos, and more, thousands of ballfield professionals trust Beacon.
We’ve been in your shoes, we know what it takes. With a groundskeeper’s blog, online ballfield dimensions, how-tos, and more, thousands of ballfield professionals trust Beacon.